
With Phase 1 complete, the groundwork is solid.
The server is secured, the stack is installed, and everything is running cleanly.
Which is great… because this is usually the point where things stop being predictable.
Now we shift focus.
This is where the custom hosting control panel build starts to take shape — moving from infrastructure into application.
🧩 What This Phase Does in the Custom Hosting Control Panel Build
Phase 2 is about bringing the platform to life.
- Installing Laravel as the application framework
- Establishing the project structure
- Configuring the environment
- Connecting to the database
- Serving the application through Nginx
Nothing flashy yet — no dashboards, no buttons, nothing that looks impressive in a screenshot.
But this is the phase where everything either clicks together… or quietly falls apart.
This turns a prepared server into a working application foundation.
📦 Installing Laravel
Laravel was installed using Composer — clean, standard, and no unnecessary complications.
Laravel installation follows the official documentation available here: Laravel documentation.
The project was created inside:
/srv/kr0311-panel
This keeps the application isolated from system-level directories while still fitting into a structured server layout.
Once installed, the familiar Laravel structure appeared:
- app/ – Core application logic
- routes/ – Route definitions
- resources/ – Views and assets
- public/ – Web root
- storage/ – Logs, cache, runtime data
Permissions were set carefully — owned by the application user, with only the required directories writable by the web server.
No “chmod 777 and hope for the best” approach here.
Clean from day one.
⚙️ Environment Configuration
Laravel’s .env file is where everything connects — and where things can go very wrong very quickly.
So this was configured early and properly.
Key settings included:
- APP_URL set to the panel domain
- APP_ENV set to production
- APP_DEBUG disabled
- Database connection placeholders
- Redis configured for cache and queue usage
The application key was then generated — a tiny command that quietly powers encryption, sessions, and basically everything important.
At this point, Laravel was configured… but not yet fully connected.
Which is always the slightly nervous stage.
🗄️ Connecting the Database
MariaDB was already in place from Phase 1, so this step was all about integration.
A dedicated database and user were created specifically for the panel.
No root usage. No shared credentials. No future regrets.
Once the credentials were added to the .env file, Laravel connected cleanly.
Initial migrations were then executed, confirming that:
- The database connection was working
- Laravel could read and write successfully
- The application layer was now talking to storage properly
This is the moment where it stops being “just files on a server”… and starts becoming an actual system.
🌐 Nginx Configuration for Laravel
With the application in place, the next step was making it accessible.
Nginx was configured with a dedicated server block.
Key points:
- Document root pointed to /public
- Requests routed through index.php
- PHP handled via PHP-FPM
This ensures Laravel controls routing — not the web server — exactly how it should be.
The default Nginx site was removed to keep things clean and intentional.
No leftovers. No confusion later.
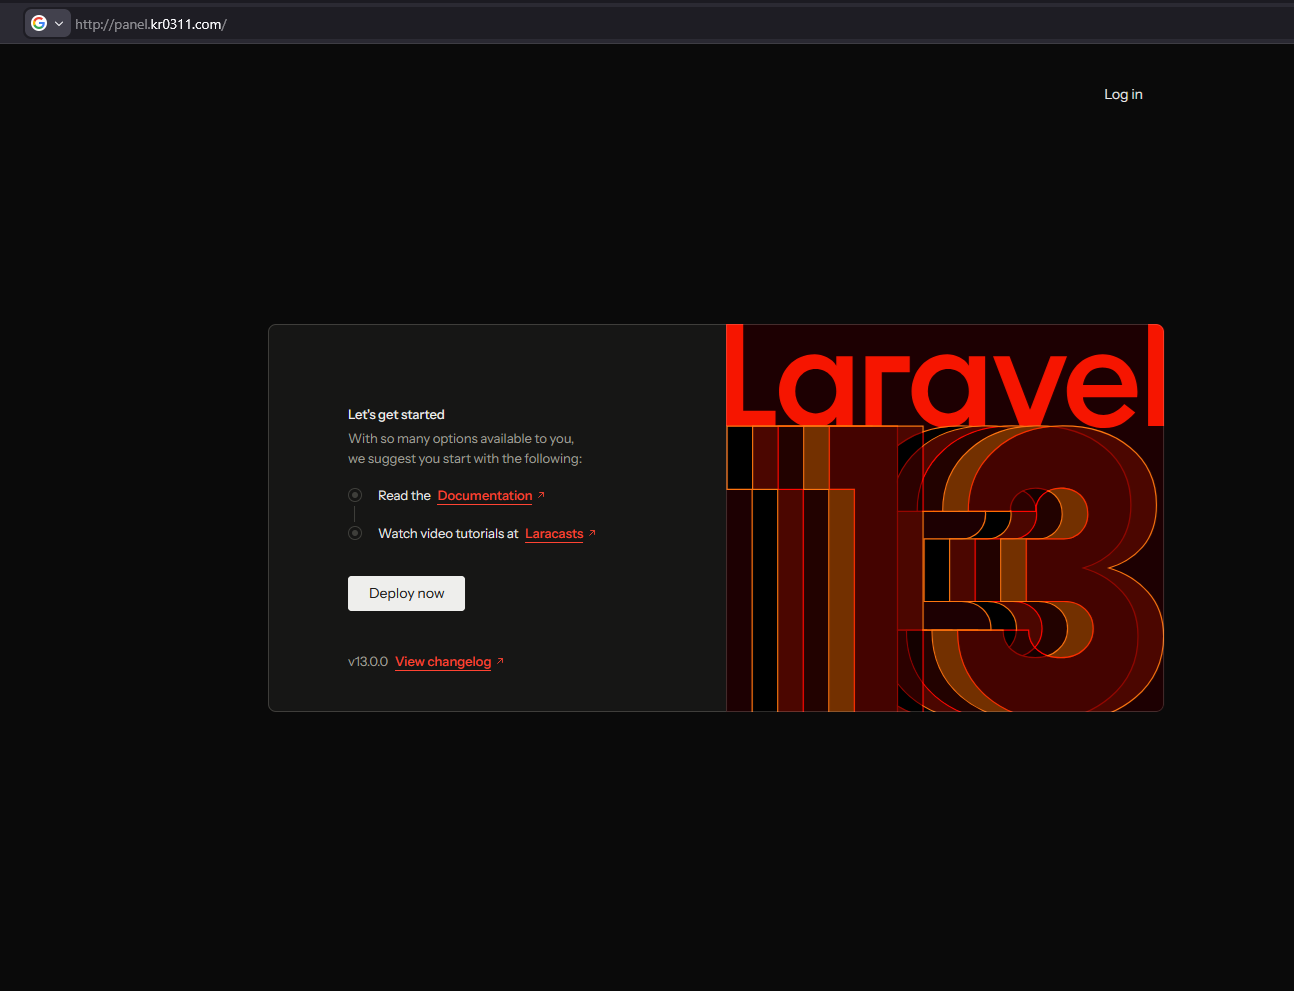
✅ First Successful Run
This is always one of those small wins that feels bigger than it should.
Nginx reloaded. PHP-FPM running. Domain opened in the browser…
And there it was.
The Laravel welcome page.
No errors. No warnings. No blank screens staring back at you.
At this stage, success means:
- The web server is correctly serving the application
- PHP is executing without issues
- Laravel routing is functioning
- The environment configuration is valid
It looks simple.
But behind that one page is an entire stack working together perfectly.
⚠️ Notes & Observations
A few small but important things came up during this phase:
- File permissions matter — fixing them later is far more painful
- Nginx must point to /public, not the project root (seriously… don’t do it)
- Clearing Laravel config cache avoids confusing behaviour during setup
- Using a dedicated database user keeps things clean and secure
Nothing dramatic — but these are the details that quietly save hours later.
🧠 Why This Phase Matters
Phase 1 built the foundation.
Phase 2 makes it usable.
This is the turning point where the project stops being “a server” and starts becoming “a platform”.
Laravel is now installed, configured, and running — ready to be shaped into a control panel.
Everything from here builds on this layer.
No pressure.
🔜 What’s Next – Phase 3
With the application running, the next step is structure.
Phase 3 will focus on:
- Authentication system (secure login)
- Panel layout and UI foundation
- Core application structure (users, dashboard)
This is where the KR0311 Control Panel starts to actually look like something.
🏁 Final Thoughts
This phase isn’t about features.
It’s about getting the application layer right — clean, secure, and ready to scale.
No hacks. No shortcuts. No “we’ll fix that later”.
Just a solid base… that everything else is about to depend on.
And now… the real work begins.
This stage completes the application setup phase of the custom hosting control panel build.